


DSTIKE WIFI DUCK V3 | Remote Wireless HID Keystroke Injector & USB Script Automation Tool (Rubber Ducky Alternative)
Reliable shipping
Flexible returns
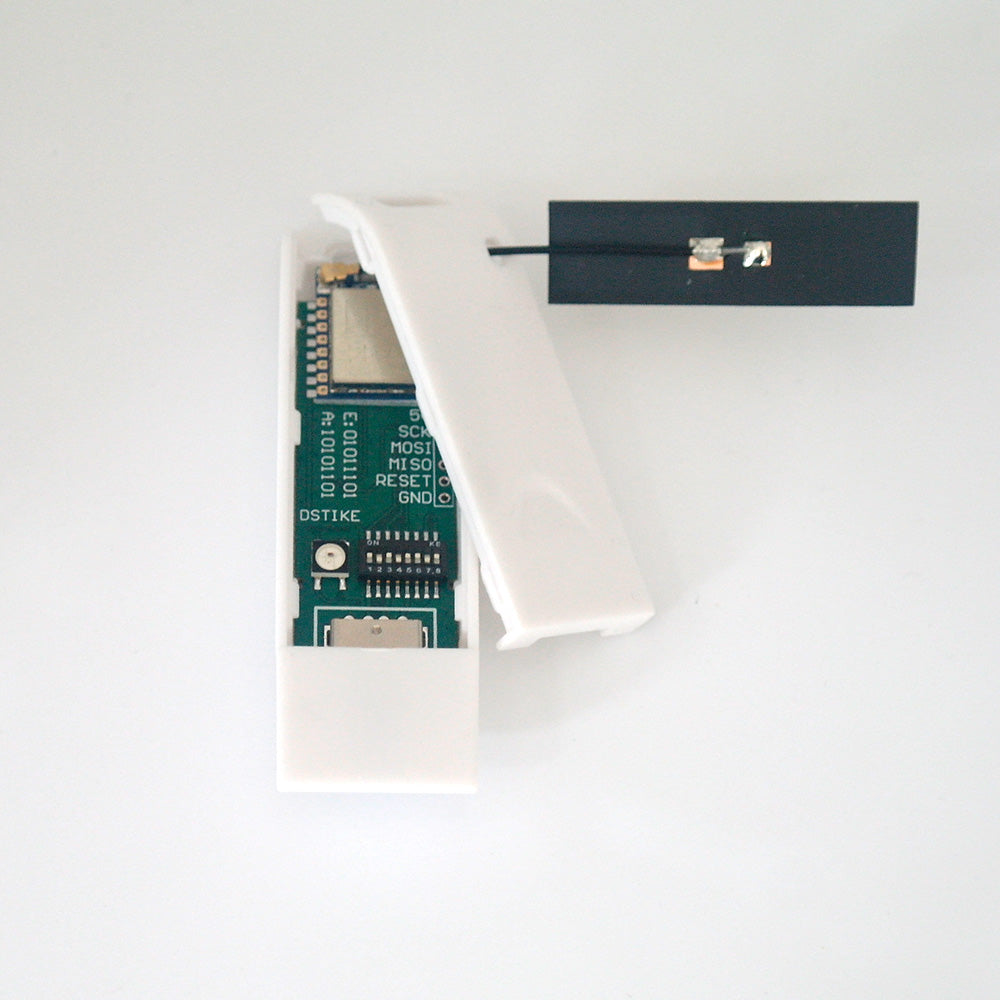
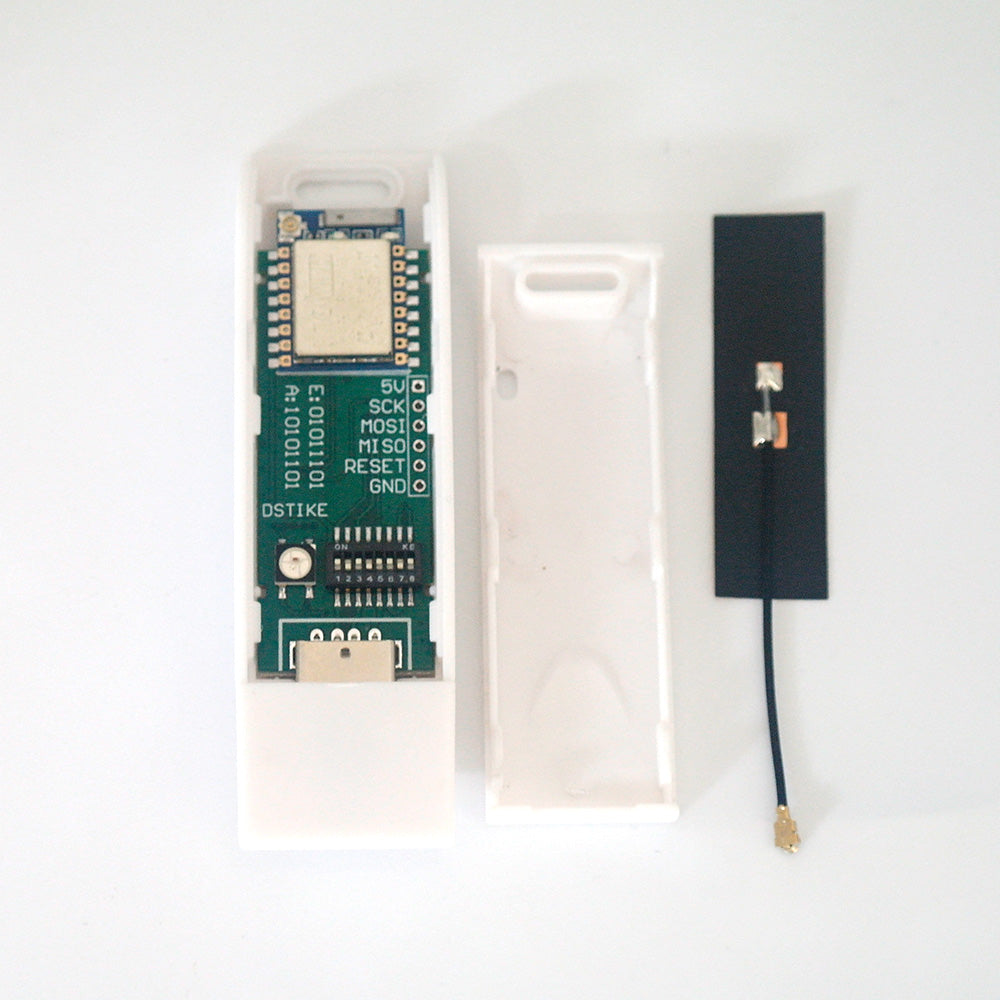
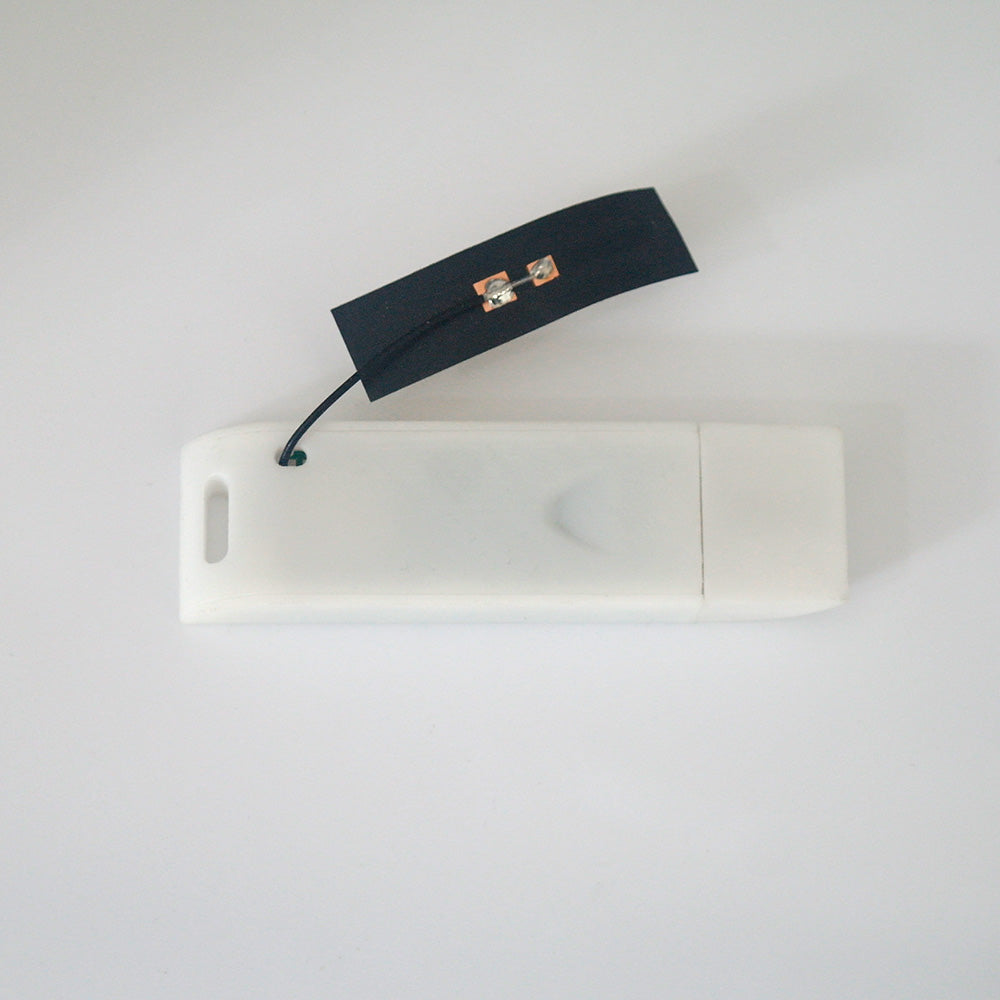
The V3 has been upgraded with a brand new white casing and an additional antenna.
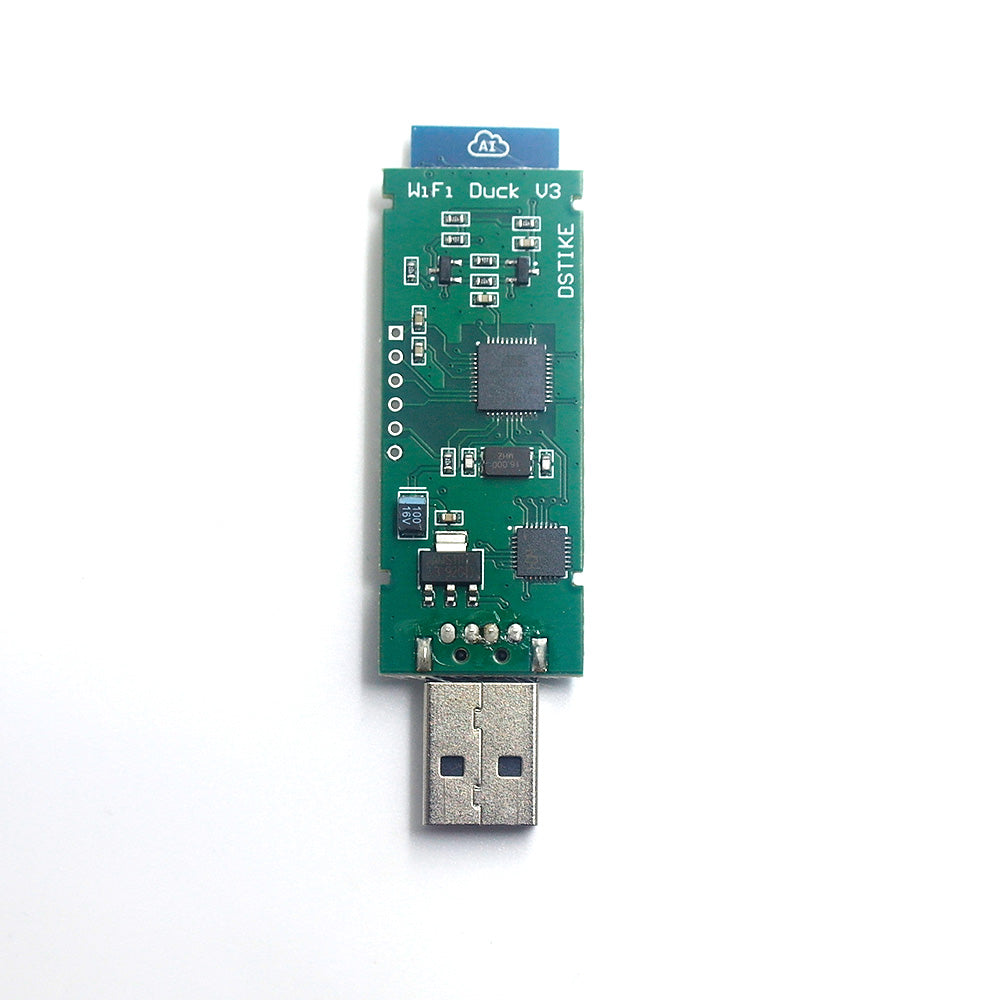
The 2MB ESP-Wroom-02 has been upgraded to a 4MB DSTIKE custom ESP07 module.
What is it?
This open source project aims to provide a user-friendly tool to learn about keystroke injection attacks. A microcontroller acts as a USB keyboard that is programmable over WiFi. It's using the Ducky Script language that Hak5 introduced with the USB Rubber Ducky.
A keyboard is trusted by most operating systems by default, which enables for a variety of attacks. Humans might not type very fast, but an automated device like this can. It can open a terminal and mess with your computer in a matter of a milliseconds!
Why did you make it?
Spacehuhn has a lot of interesting projects, WiFi duck is a new version different from old WiFi ducky. For more details please check
What makes it special?
- Easy to use and DIY-able (with ATmega32u4 & ESP8266)
- Save and run BadUSB scripts through a simple web interface
- No need to compile your scripts or copy them onto a micro SD card
- Great for quickly developing new scripts and testing them.
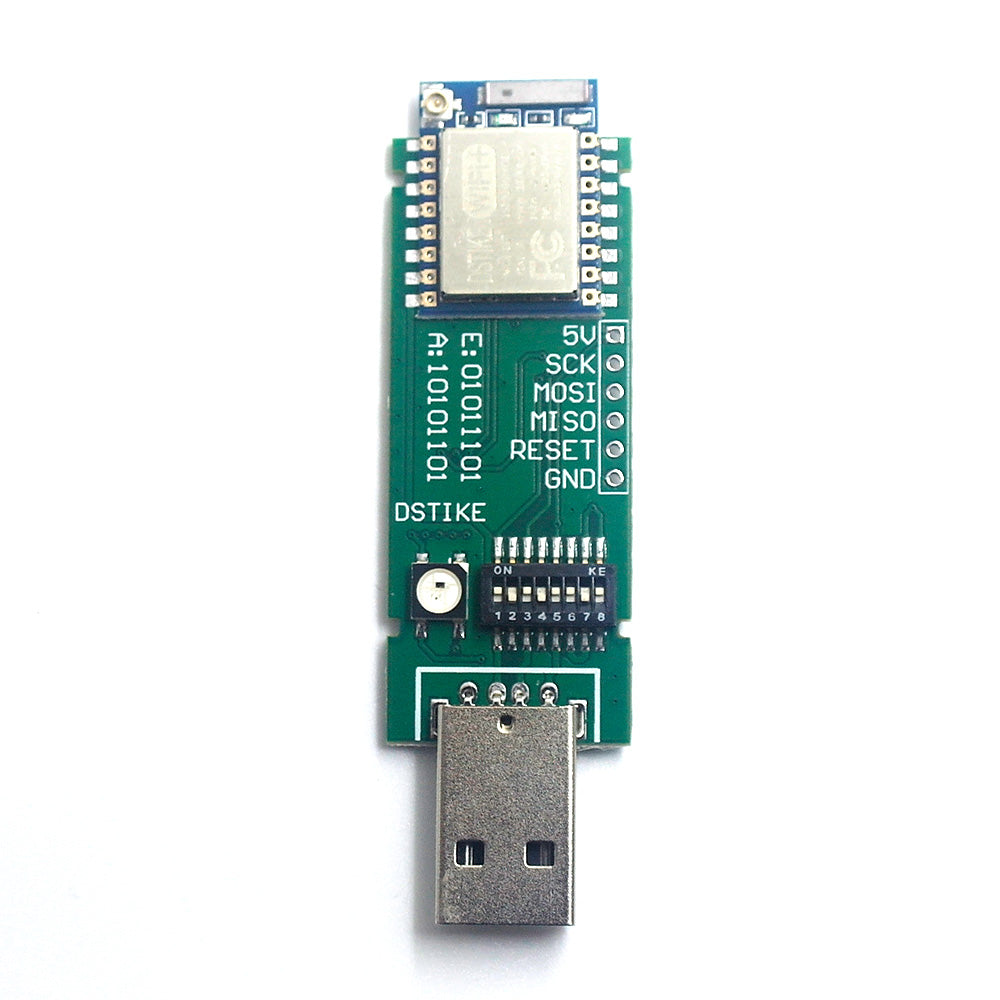
- RGB LED(Green: Ready to use ,Blue: Wrong connection)
- DIP Switch for different mode:
- Arduino Flash Mode: 10101010
- ESP8266 Flash Mode: 01011101
- Work Mode: 10101101
Usage
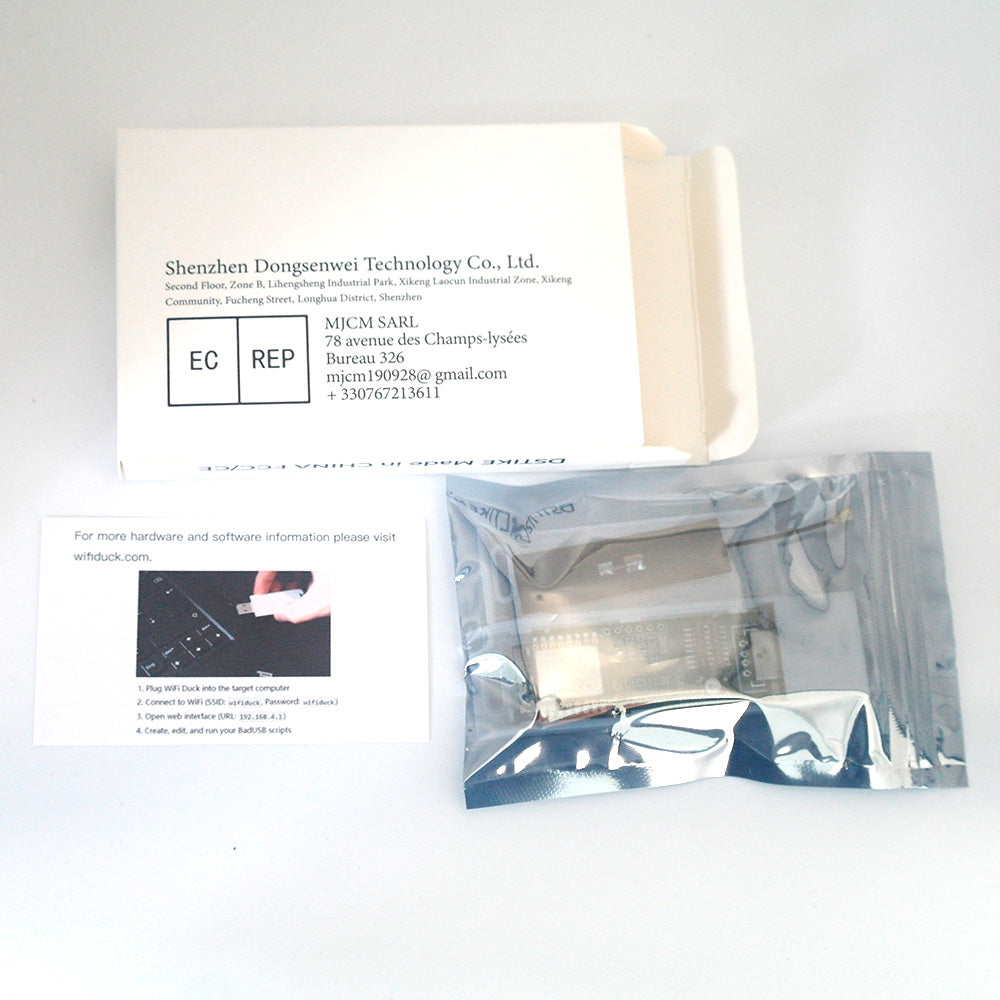
- Plug WiFi Duck into the target computer
- Connect to WiFi (SSID:
wifiduck, Password:wifiduck) - Open web interface (URL: 192.168.4.1
) - Create, edit, and run your BadUSB scripts